- ReasonReact Todo app written with ReasonML
- Making API requests with glennsl/refetch
- Served with
servepackage - Hot-reloading, instantly view the changes upon every save
- Cloud-ready Dockerfile deployment
FROM node

WORKDIR /src

ADD src /src

RUN npm install

RUN yarn start

RUN yarn build

RUN yarn global add serve

CMD ["serve", "-s", "public", "-p", "8080"]
- Press the Clone & Deploy button and follow the instructions to clone the quickstart.
- Browse to
/microservices/www/srcand edit the ReasonML files insrcfolder according to your app.
NOTE: Make the changes to the cluster name as told in the below database section.
- The current serving files are being stored at
publicfolder, make sure you update the Dockerfile if you change the structure of the project.
If you have a ReasonReact app which you want to deploy, edit the contents inside /microservices/www/src/ according to your app.
You can track the insertion/deletion responses in your browser's console window. Open the API console with the command hasura api-console in your terminal, and view the Data section to see the data being inserted and deleted.
You can find the below piece of code in microservices/www/src/src/TodoApp.re. Update your cluster name in the two blocks of code, first one for inserting the Todo contents, and the second function block is for deleting the entry upon toggling the todo element.
Resync.(Refetch.(
  request(`POST, "https://data.<cluster_name>.hasura-app.io/v1/query")
    |> Request.header(`ContentType("application/json"))
    |> Request.payload(`String("<stringified_JSON>"}}}}"))
  |> fetch
  |> Future.flatMap(
        fun | Response.Ok(_, response) => Response.text(response)
            | Response.Error({ reason }, _) => Future.from(reason))
    |> Future.whenResolved(Js.log)
));
Below is an example request:
Resync.(Refetch.(
  request(`POST, "https://data.abstemiously42.hasura-app.io/v1/query")
    |> Request.header(`ContentType("application/json"))
    |> Request.payload(`String("{\"type\":\"delete\",\"args\":{\"table\":\"todo\",\"where\":{\"Task Name\":{\"$eq\":\""++text++"\"}}}}"))
  |> fetch
  |> Future.flatMap(
        fun | Response.Ok(_, response) => Response.text(response)
            | Response.Error({ reason }, _) => Future.from(reason))
    |> Future.whenResolved(Js.log)
));
Deployment - Behind the scenes:
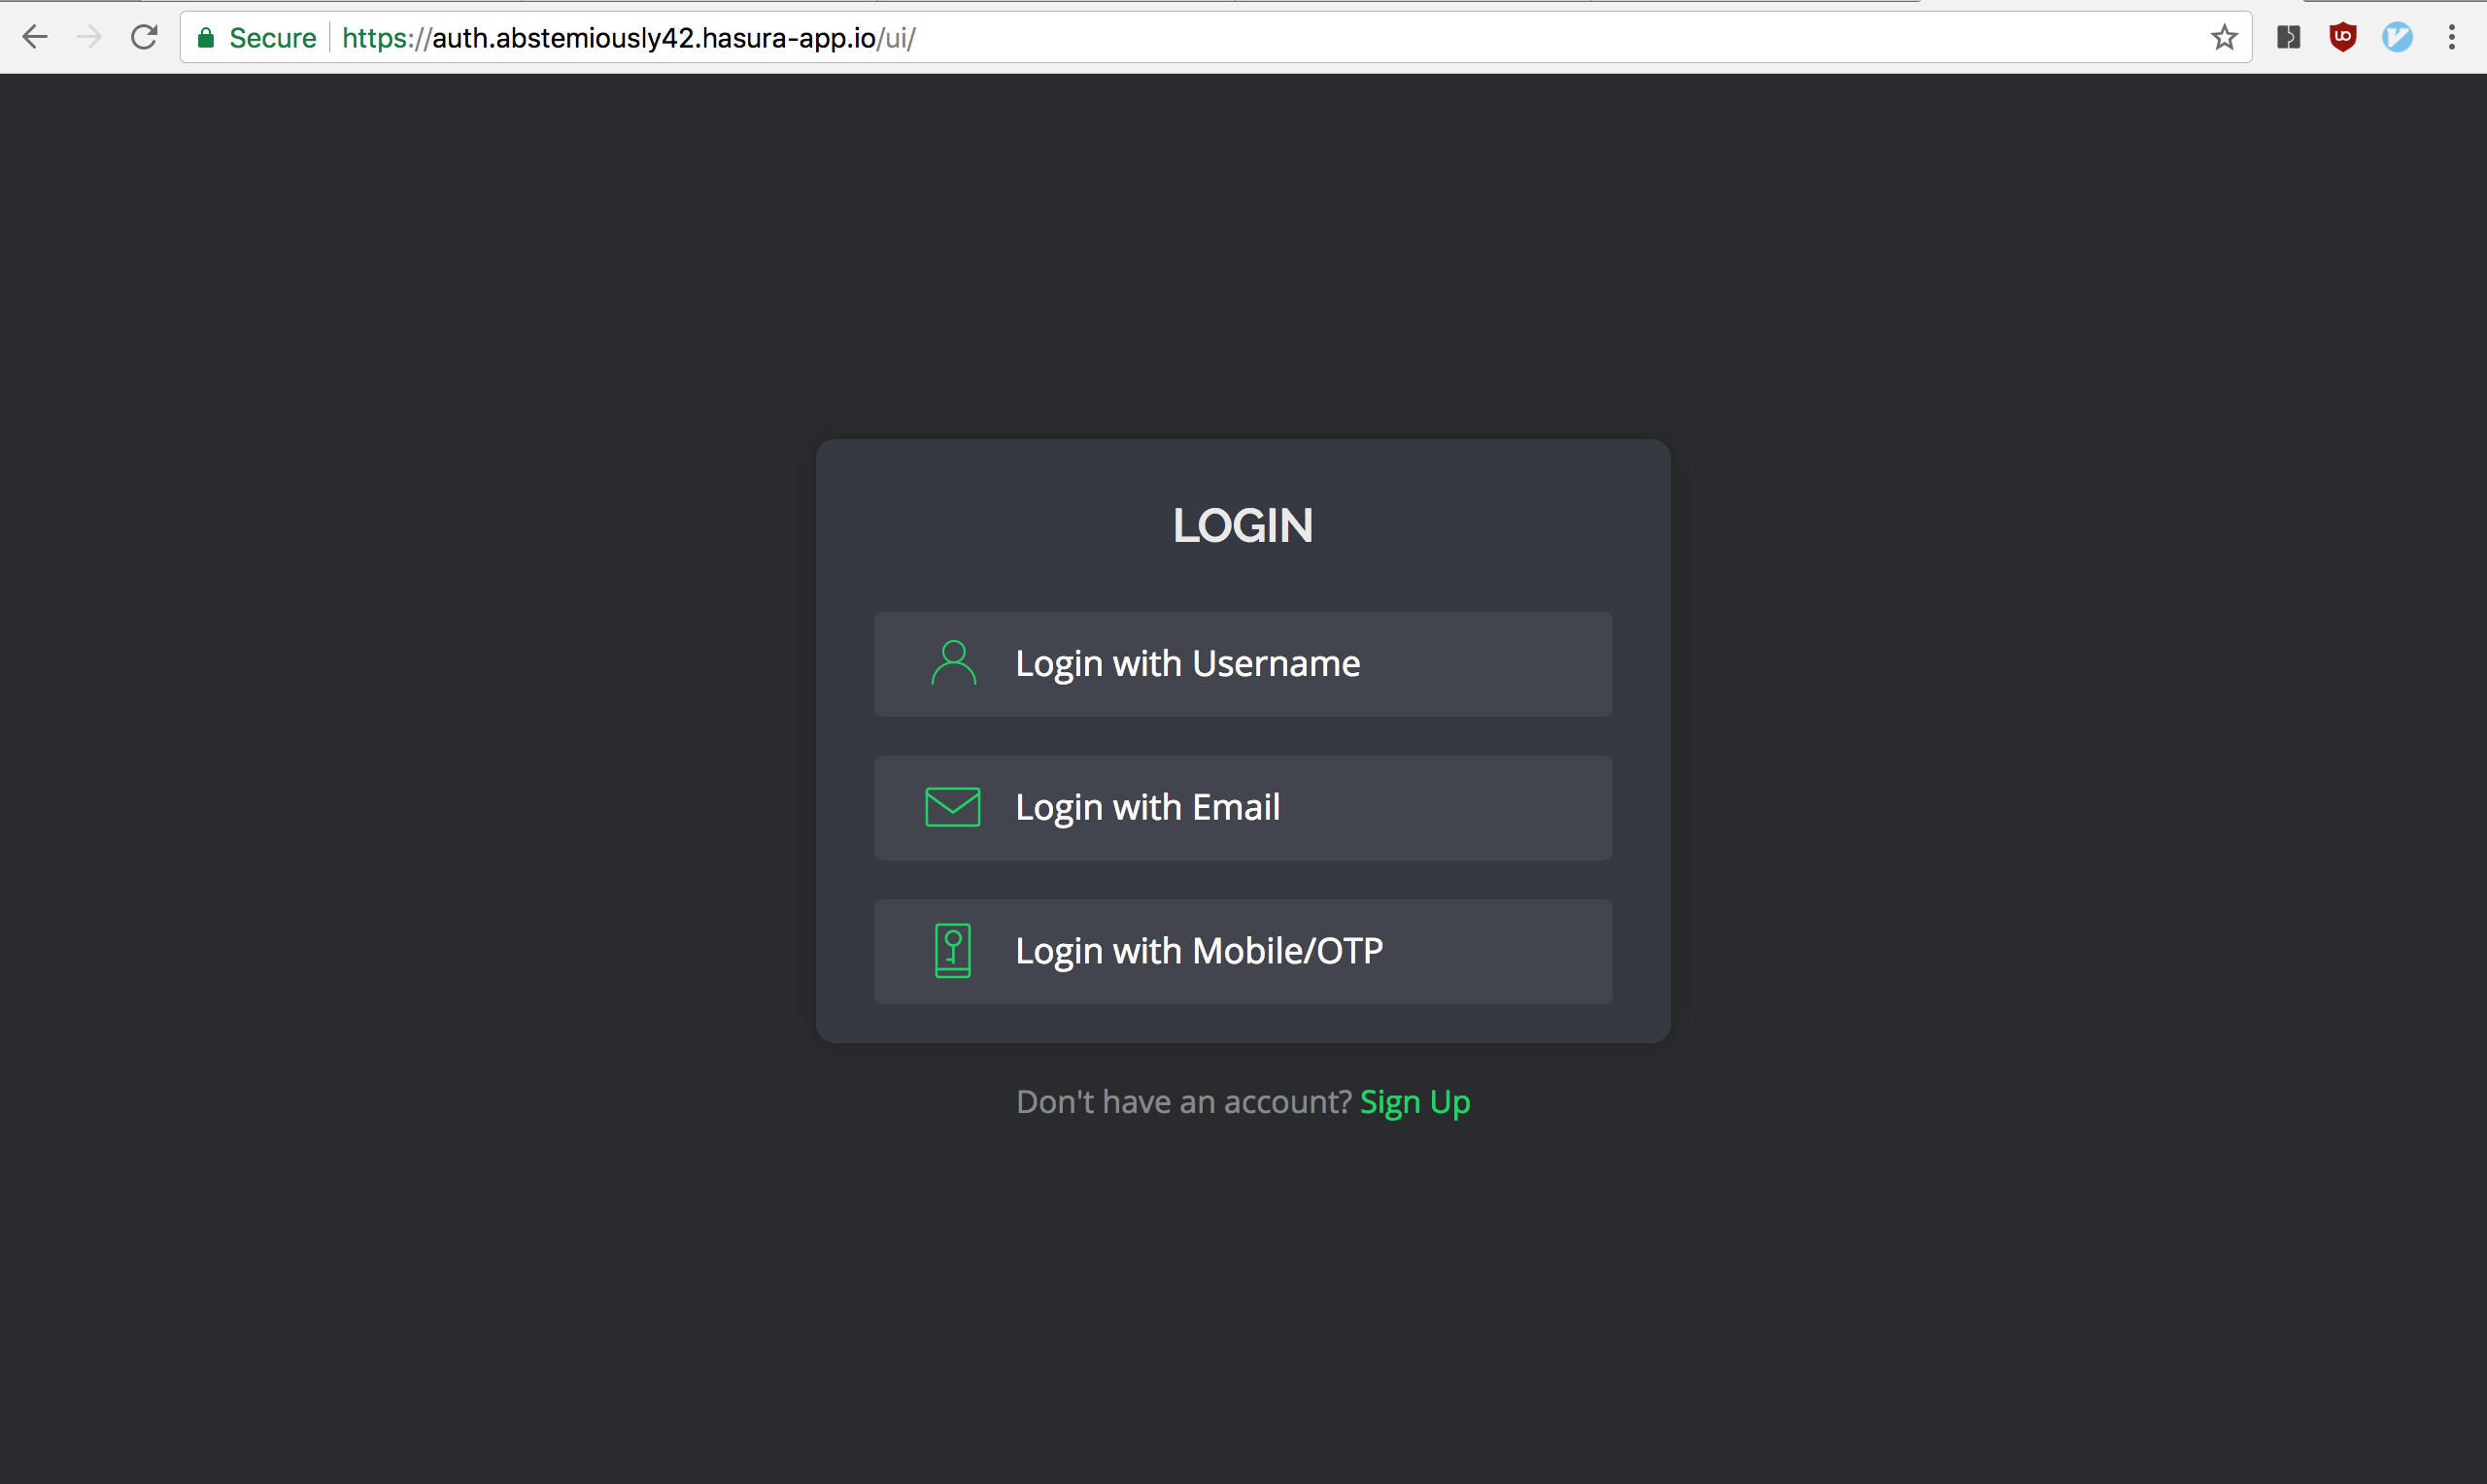
Follow the Authorization docs to add authentication UI to your app.
Add the following code under www section to your routes.yaml.
authorizationPolicy:
  restrictToRoles: ["user"]
  noSessionRedirectUrl: https://auth.{{ cluster.name }}.hasura-app.io/ui/
  noAccessRedirectUrl: https://auth.{{ cluster.name }}.hasura-app.io/ui/restricted