touchdisplay
The Pekaway touchdisplay is based on a Nextion display with customized firmware (closed source). It connects via a serial connection to the system. For this we have developed a PCB to put the signal and power through an ethernet cable, so we only have to use a single cable for power and signal. The PCB Schematic is open source and can also be used for other serial devices. For example if can be used to connect a GPS-module. It's basically a kind of PoE (Power over Ethernet) but in a simple 12v version. You have to be careful though: ==The RJ45 display port is connected to Vin, do not connect it to a normal ethernet device. Only use it with our PCB schematic!==
The serial connection is set in the Init-Flow of Node-RED. Connection type 8N1 BAUD:38400 RPI GPIO TXD (GPIO 14) and 10, RXD (GPIO 15) dev/ttyS0
The communication is started by the display. The display sends a commandframe with a type information on the first byte and a specific information on the second byte. We are using the 'Protocol Reparse Mode'. This makes everything a bit complex but at this point we can implement these protocols with feedback control.
Typeframes: [byte0] pageload AA button pressed BB slider value CC
This commandframe is send every 500ms until the VanPi systems sends a specific answer. The commandframe is send on pageload or when a button is pressed. After 5s without an answer the display shows "connection timeout" and stops resending the command.
Pageload AA :
Menu AA 01
Battery AA 02
Switch AA 03
Slider AA 04
WifiSwitch AA 05
Water AA 06
Autoterm AA 07
ChinaHEater AA 08
LF BROS AA 09
Webasto AA 0A
BMS AA 11
Victron AA 0C
UserData AA 0D
WPA Settings AA 0E
button pressed BB:
Switch 1-10
BB 01 - BB 0A
WifiSwitch 1-4
BB 0B - BB 0E
WifiSwitch 5-8
BB 4B - BB 4E
Heater start BB 11
Heater Stop BB 12
LF Bros Start BB 13
LF Bros Stop BB 14
LF Bros minus BB 15
LF Bros plus BB 16
Autoterm Powermode BB 17
Autoterm Tempmode BB 18
Reboot BB 19
shutdown BB 1A
APmode BB 1B
Slider value:
Slider 1 Byte CC 2 Byte Slidernumber 3-6 Byte Slidervalue
Slider 1-8
CC01-CC08
settemp Slider CC 09
Autoterm Power Slider CC 0A
Display Answer:
Complete-Page-Information Frame
Byte 1 Page
Byte 2 FF
from Byte 3 values as a string buffer "/" seperated
Button-Ok Frame
Byte 1 Button
Byte 2 BF
Byte 3 00
Byte 4 00
Home Answer: 01 ff "insidetemp"/"SOC"
Battery Answer: 02 ff "volt"/"amps"/soc
Slider Answer: 04 ff "dimmer0"/"dimmer1"/....."dimmer7"
Level Answer: 06 FF "level1"/"level2"/"level3"/"level4"
Autoterm Answer: 07 FF temp1 + "/" + temp2 + "/" + temp3 + "/" + temp4 + "/" + temp + "/" + fan + "/" + glow + "/" + volt + "/" + status+"/"+settemp
Page Victron AA 0C BMS AA 11 sends the information without Protocol Reparse Mode. We are using the normal string commands e.g. msg.payload = "t913.txt=""+msg.payload+""" You can find these informaton in the VanPi display flow.
DATE sends all 6s on homescreen DD E6 07 00 00 03 00 00 00 1A 00 00 00 11 00 00 00 38 00 00 00
(year,month,day, hour, minute)
This PCB controls the power delivery (converts Vin to stable 5V) and UART communication. It is developed for our display communication but can also work with other uart devices.
Everything you need to build it on your own is available here, including gerbers, source files etc:
Download ZIP{ .md-button }


To update the display firmware you'll need a MicroSD card. All update information and downloads are accessible at downloads.pekaway.de{target=_blank}
Download the the latest *.tft file and but it to the root folder of your SD-Card. There may be problems on Apple devices because of the mirror file... Please try a Linux or Windows machine. Put the SD-card into the display and power it up. The flashing will start. After this is done, remove the SD-card and turn the Display back on. Reminder: Only the latest display firmware will work properly with the latest VANPI OS, so be sure to update both if new versions are available.
We modified the Nextion display so that you can not flash our firmware on a normal Nextion display. Please understand that programming a proper user interface for that display comes with a lot of work, which we do not want to be released as open source for now.
We are working on an open source-basic display image which you can use with your Nextion Display, planned for October 2022. It will have less features, but it'll be open for you to modify it to your likings.
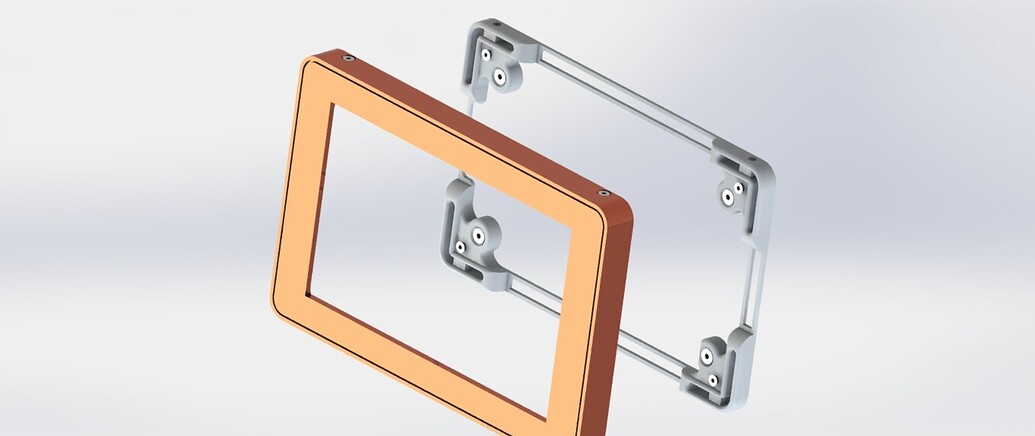
All 3D parts done by the community and by us will be collectively shared on thingiverse:
Pekaway Thingiverse{target=_blank}
(RPI3 and Zero2 can only use UART1)
TXD1 - GPIO14 - Pin8 DISPLAY RXD1 - GPIO15 - Pin10 DISPLAY TXD2 - GPIO0 - Pin27 RXD2 - GPIO1 - Pin28 TXD3 - GPIO5 - Pin29 RXD3 - GPIO4 - Pin7 TXD4 - GPIO8 - Pin24 Relayboard breakout RXD4 - GPIO9 - Pin21 Relayboard breakout TXD5 - GPIO12 - Pin32 Relayboard breakout RXD5 - GPIO13 - Pin33 Relayboard breakout + MultiUart
On our first PCBs (the blue ones, around 2020) we use UART3 for the Multiuart.